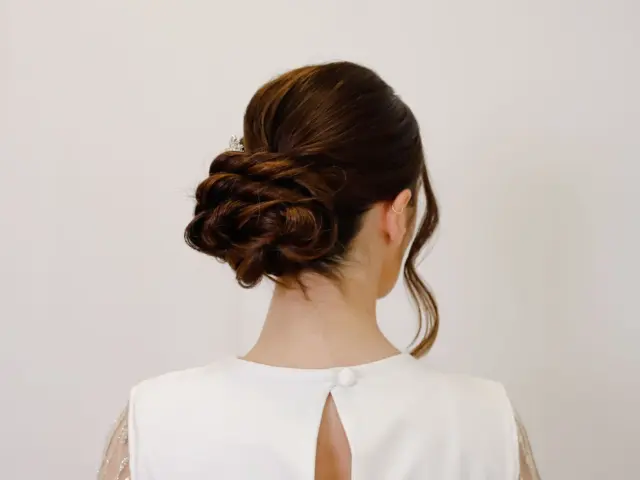
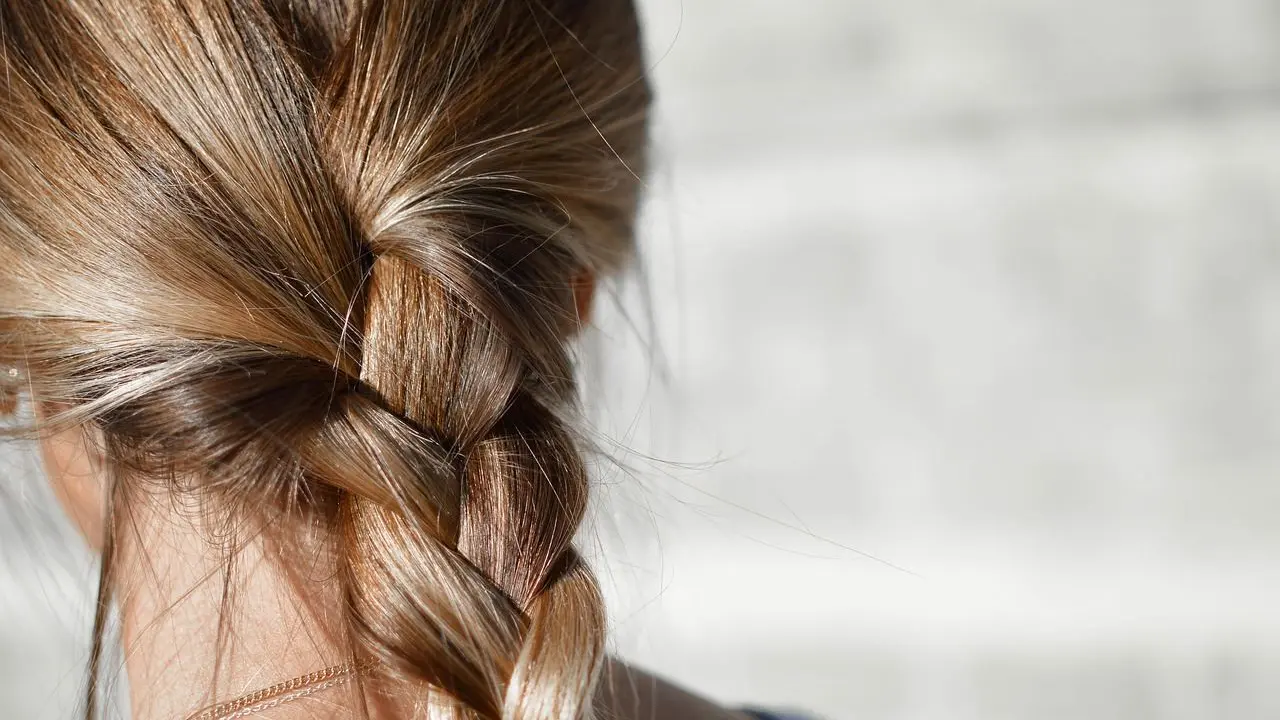
Wondering how to do a French braid without it unravelling? You start at the crown, split a small section into three, then add a little hair every time you cross a strand over.
Once you have this down, there are plenty more hairstyle ideas to try.
| Item | Value |
|---|---|
| Width of the starting section at the crown | 3 to 4 inches |
| Strands in the braid | 3 |
| Plain crosses before you add hair | About 3 or 4 |
| Parting for a French-braided fringe | At least 2 inches back from the hairline |
| When the name “French braid” became widespread | Around the 1870s |
These figures come from Marie Claire UK and Curl Centric. Styling advice can change, so check the sources before you rely on them.
What to do before you start braiding
The most useful prep is a thorough brushing. L’Oréal Paris points out that tiny knots can force you to start over, so remove every tangle before the first cross.
Next, brush the hair backwards so it all travels in one direction, as Marie Claire UK suggests. That gives you a clean, even canvas to work from.
You do not need much gear:
- A brush or wide-tooth comb for detangling.
- A hair elastic to fasten the end of the braid.
- A clear elastic and a few pins if you plan to try a headband braid or a braided bun later.
Hand position matters too. Curl Centric recommends keeping two sections in your right hand and one in your left, so you always know which strand is which.
How to do a French braid, step by step
Read through the whole list once before you pick up a brush. The pattern is simple, but it feels odd until your hands learn it.
- Brush and gather. Brush your hair back, then take a section about 3 to 4 inches wide from the crown of your head, as described by Marie Claire UK.
- Split into three. Divide that section into three pieces and keep them as close to the same size as you can, a tip from Curl Centric.
- Start a plain braid. Cross the right strand over the centre, then the left strand over the new centre. Repeat about three or four times, according to Curl Centric.
- Add hair as you cross. Each time you cross a strand over, add a bit more hair to it, taking the new hair from the outside near your face.
- Keep going down the head. Smooth each section as you go to prevent lumps and bumps, and keep the pattern even all the way down.
- Finish and fasten. When there is no more hair to add, weave a traditional three-strand braid to the ends and secure it with an elastic.
Steps four to six follow L’Oréal Paris and Curl Centric. If your first attempt looks uneven, that is normal. Curl Centric notes the crossing pattern can take time to learn, so a few tries is nothing to worry about.

The size of the pieces you add controls the look. Curl Centric says smaller sections of hair make a tighter, more intricate braid, while larger ones give a looser, quicker result.
Can you French braid your own hair?
Yes, and the method is much the same as braiding someone else. Marie Claire UK advises using your middle finger to hold the outside section and your thumb to bring in a new section.
Work slowly at first and keep your elbows relaxed, since your arms will tire before the braid is done. Practise on clean, detangled hair so your fingers glide rather than snag.
Curl Centric also suggests starting with a single braid down the back before trying side braids or pigtails. That keeps your first project simple.
Easy ways to make your French braid look better
A finished braid is only the starting point. These small tweaks change the whole mood:
- Pancake it for volume. L’Oréal Paris says to gently tug at each weave with your fingers or a comb, without pulling so hard that the braid unravels.
- Use texture. The same source says added grit and texture can make a braid look effortless and beachy.
- Add hair rings. For a boho touch, slip a small ring around a few strands between stitches.
- Go smaller or larger. Tiny pick-ups look neat and detailed, while bigger ones look relaxed.
If a strand or two pops out, leave it. Slightly undone braids are a popular look, according to L’Oréal Paris.
French braid variations to try next
Once the basic braid feels automatic, you can change where it starts and where it goes. Marie Claire UK lays out several versions:
- Fringe braid: make a deep side part at least two inches back from your hairline, gather an inch at the hairline, and braid across, taking in new hair from each outside section.
- Headband braid: gather an inch of hair at your parting, braid down to behind your ear, and secure with a clear elastic. Then repeat on the other side.
- Braided bun: put your hair in a ponytail, leaving 2 inches out at the front, and braid those front pieces around the base before wrapping and pinning the end.
- Side braid: part your hair to one side and add hair from only one half.
A braided bun also pairs well with other polished looks, such as these updos for medium length hair.
Related braids change one detail. Curl Centric explains that a Dutch braid crosses the sections under each other instead of over, and a fishtail crosses two strands instead of three.
Why the French braid is worth learning
According to Curl Centric, the style originated in North Africa before the French adopted it, and it was largely called a French braid around the 1870s. The same source says it takes in all of your hair, which eases strain on the strands and causes less breakage than a traditional braid.
It is also practical. A braid keeps hair off your face from morning to night, which suits everything from errands to evenings out.
If you are choosing a cut with braiding in mind, these low maintenance haircuts are worth a look.
Frequently asked questions
What is the difference between a French braid and a Dutch braid?
Show answer
Both add hair as you go, but a Dutch braid crosses the sections under each other rather than over, which gives a raised, “inside-out” look, according to Curl Centric.
How much hair should I start with?
Show answer
A section about 3 to 4 inches wide at the crown works well, per Marie Claire UK. Divide it into three even pieces before you begin.
What do I do when I run out of hair to add?
Show answer
Carry on with a traditional three-strand braid down to the ends, then fasten it with an elastic, as L’Oréal Paris describes.
Why does my braid look lumpy?
Show answer
Smooth each section as you cross it, because that helps prevent lumps and bumps. Brushing out tangles first also helps, as L’Oréal Paris notes.