Worried your fingers will tangle up? The easiest braided hairstyles for beginners start with the classic three-strand braid: clean, detangled hair, even sections and steady tension. Master that, then add hair for French and Dutch styles.
Once your hands feel steady, you can explore more hairstyle ideas from the same category.
| Item | Value |
|---|---|
| Strands in a classic braid | 3 strands |
| Where to tie off a finished braid | About 1 inch from the ends |
| Width of the starting section for a waterfall braid | About 2 inches |
| Braids in one beginner tutorial from L’Oréal Paris | 5 braids |
These figures come from Curl Centric’s braiding guide and a L’Oréal Paris braid tutorial. Styling advice can change, so check the sources before you rely on them.
Prep your hair before you braid
Hair that is clean and detangled is far easier to braid. Curl Centric explains that the process becomes problematic when hair is coated in gunk, products, and excess oils, because strands then struggle to slide past each other.
A simple prep routine looks like this:
- Brush out your hair, starting at the ends, so no knots are left (L’Oréal Paris).
- If your hair is conditioned and wet, use a wide-tooth comb to detangle from the ends up to the roots (Curl Centric).
- If you stretch your hair with a blow dryer, apply a heat protectant spray first.
- Apply a favourite hair oil or moisturizer before braiding.
Expect the start to be the fiddly part. Sam Villa’s braiding tutorial says the beginning of a braid can be difficult, maybe even a bit messy, while the middle and end seem easier and cleaner.
How to do a classic three-strand braid
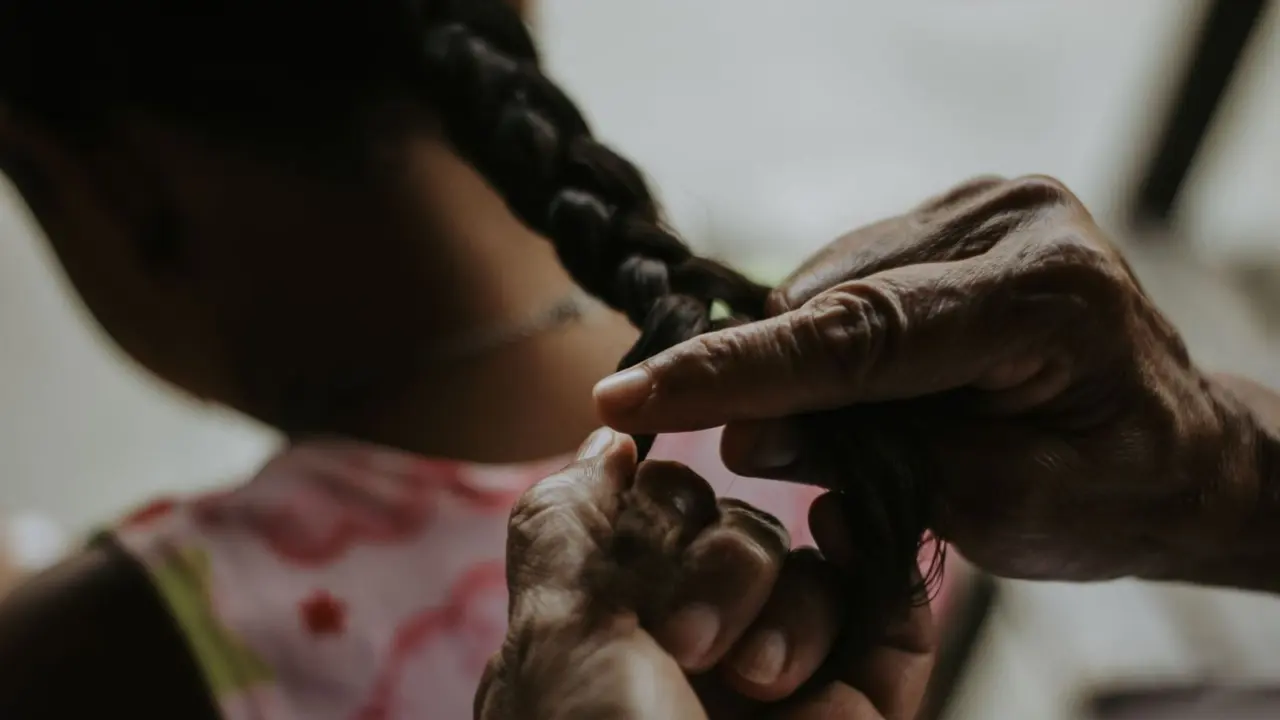
Luxy Hair’s beginner tutorial calls the three-strand braid the ultimate first step into braiding. L’Oréal Paris describes the same braid as classic, simple and the easiest to master.
Try these steps, based on the L’Oréal Paris tutorial:
- Divide your hair into three even sections: left, middle and right.
- Hold the left section in your left hand and the right section in your right hand.
- Cross the left section over the middle one. It becomes the new middle section.
- Cross the right section over the new middle section.
- Keep going, left-right-left-right, pulling the sections snug to prevent flyaways.
- Tie off about an inch from the ends.
Curl Centric adds that the strands should be equal in size, or the finished braid will not be uniform. It also names the two directions you can cross: over the middle is over-braiding, and under the middle is under-braiding.
Keep tension firm, not painful
Hold the hair with some tension on every stitch, and keep your fingers close to the braid so frizz does not take hold. Pulling too tight, especially at the roots, can cause a headache or even hair loss, according to Curl Centric.
Step up to French and Dutch braids
A French braid uses the same left-right weave, but you add hair as you go. Gather the topmost section at the crown, divide it into three, make your first weave, then pick up new sections and work them into each new stitch, as L’Oréal Paris explains.
A Dutch braid also picks up hair along the way, but each section goes under the middle strand instead of over it. Start by dividing the top layer into three equal sections, continue the pattern down and stop about an inch from the ends.

A waterfall braid for wearing hair down
If you prefer to wear your hair loose, the waterfall braid is a good challenge. L’Oréal Paris suggests grabbing a section at the front of your head that is about two inches wide, splitting it into three and braiding as you would a traditional braid.
Then comes the signature move: let go of the left strand and grab a new piece of hair to replace it, which creates the cascading effect. The same guide admits this may take a bit of practice, so give yourself time.
When you want something simpler to pair with a plait, these easy hairstyles for long hair are a natural next step.
Why do beginner braids go wrong?
Most early mistakes come from a few habits you can fix quickly:
- Frizz: holding the hair too far from the braid lets frizz take hold.
- Loose braids: sections that are not pulled snug can leave flyaways and a braid that comes undone.
- Messy starts: the first few stitches are the hardest to keep neat.
- Uneven strands: unequal sections give a lopsided braid.
Sam Villa’s tutorial points to the pinch as the key: if you can control the pinch, you will control the braid. Curl Centric’s advice is to take your time with your first few braids, because speed will come over time.
If you are planning a cut before you practise, look through these short haircuts for round faces first.
Frequently asked questions
What is the easiest braid for a beginner?
Show answer
The three-strand braid. It uses one technique, repeated, and it is the base for French and Dutch braids, which simply add hair along the way.
Should I braid clean or dirty hair?
Show answer
Clean hair is the better choice. Curl Centric warns that braiding hair coated in products and oils can cause tangling and a dusty look.
How tight should I pull my braid?
Show answer
Use enough tension to keep the sections neat and stretched out, but never yank. Pulling too tight at the roots can lead to a headache or hair loss.
What is the difference between a French and a Dutch braid?
Show answer
Both add hair as you braid. A French braid crosses sections over the middle strand, while a Dutch braid crosses them under, according to L’Oréal Paris.
How long will it take to get good at braiding?
Show answer
There is no fixed timeline. Curl Centric says good instructions and a lot of practice are all it takes, and that speed comes over time.